
Did you know that extra clutter can affect your sleep and anxiety levels?
If you feel like your house is never fully clean or like you simply can’t find a system that works, we’re here to help. Having a clean home is one of the greatest keys to a happy mind, and it’s essential to take control of your home cleaning schedule if you feel overwhelmed each time you walk through the door.
Have no idea where to start? Luckily, we’re here to help. Read on to learn everything you need to know.
1. Take Account of Your Needs
First up, you’ll need to set up a cleaning routine that accounts for everything you need to have an organized, tidy home. So, grab something to write with and a notepad, and then take a walk through your space.
Go room-by-room while taking a realistic inventory of the areas that you use the most, along with the tasks that will make up your cleaning schedule. To make things simpler, you can also split your tasks up into the following sections:
- Daily
- Weekly
- Monthly
- Quarterly
There might be some yearly tasks you’d like to add as well, but for a basic home deep cleaning, annual tasks won’t usually make the list.
Don’t worry about splitting them up immediately, though. Think of this list as the brain dump you’ll be able to organize later (because that’s exactly what’s going to happen).
2. Choose Your Rooms
Once you have a general list of each task that needs to be done, it’s time to start organizing. Start with listing each of the rooms and/or areas in your space that need regular cleaning. This can include things like:
- Bedrooms
- Kitchen
- Dining areas
- Hallways
- Stairways
- Entryways
Don’t worry about writing down areas you don’t use often, like your storage room or even a guest bedroom. You can work those into your larger, seasonal tasks.
3. Identify Each Cleaning Task
Once you have your rooms listed, it’s important to go through and identify the tasks that each of them needs to stay clean. It’s best to order items from top to bottom since that’s the order you’ll be using to clean.
If you feel like you’re missing some small tasks, here are a few ideas you can use to get started for each room.
For every room:
- Dust light fixtures and ceiling fans
- Clean door handles and dust door frames
- Dust windowsills, blinds, picture frames, and furniture
- Dust bookshelves and knickknacks
- Shake out rugs
- Clean floors
For the kitchen:
- Wipe down counters
- Clean stove, oven, and range hood
- Wipe out microwave
- Wipe down appliances and cabinet fronts
For the bathroom:
- Wipe down counters
- Clean the mirrors
- Wipe down cabinet fronts
- Clean the toilet
- Clean the tub, shower, and/or shower door
You should also always make time for picking up clutter and putting it back in its place. From there, you’ll need to know what you’re cleaning with.
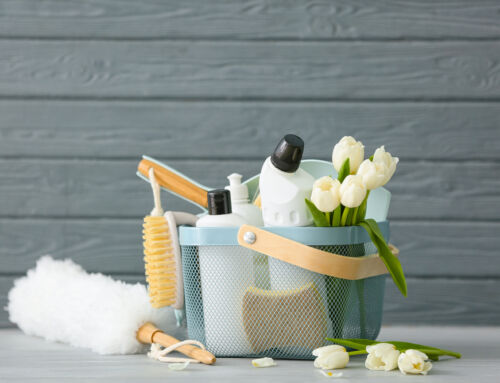
4. Gather Your Supplies
Naturally, your next step should be to gather supplies. It’s best to make do with what you have, but if you have to buy supplies then now is a great time to do so.
To make cleaning easier, you can have a single caddy that you take from room to room. If certain supplies are only used in one room (like toilet bowl cleaner) having a separate basket or caddy where those items can be placed is great to make gathering your supplies easier each time you have to clean.
5. Build From There
From there, you should test out your cleaning style. Some people enjoy cleaning everything in one go. Others prefer to set a timer, start at the top of the list, and then go until the timer dings. On their next scheduled cleaning day, they can simply pick up where they left off.
If neither of those sounds nice, you can also split everything up by room. You’ll need to decide which days to clean, but then you’ll assign specific areas to specific days. So, you might clean the kitchen, entryway, and laundry room on Monday, and then the bathrooms on Wednesday, and so on.
To get started, you can print out your task list, place it in a plastic sheet protector, and then stick it to your cleaning caddy or onto the fridge. No matter what, you should have easy access to it each time you go to clean.
6. Don’t Be Afraid to Reassess
Once you have a pretty good idea of what your schedule is going to look like, you can start your practice month. This is when you sit down to schedule out your first month of cleaning. You should start small so you don’t overwhelm yourself, and you can also limit the amount of time you spend in each room.
Once you finish the allotted amount of time in that room, move on to the next one. During your first month, remember that it isn’t all going to go smoothly. If you find that things simply aren’t working for you, you can always reassess things.
As you work to reassess, simply replace the tactics that didn’t work with new ones for the following month.
Make Your Cleaning Schedule Your Own
Remember, the most important part of any cleaning schedule is that it works for you. Cleaning in itself can feel overwhelming, and the point of creating your own schedule is to relieve some stress. It’s easy to get overwhelmed by all your house chores, but it’s simple to maintain once you get the hang of it.
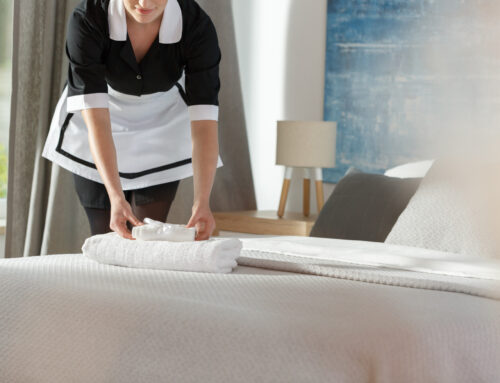
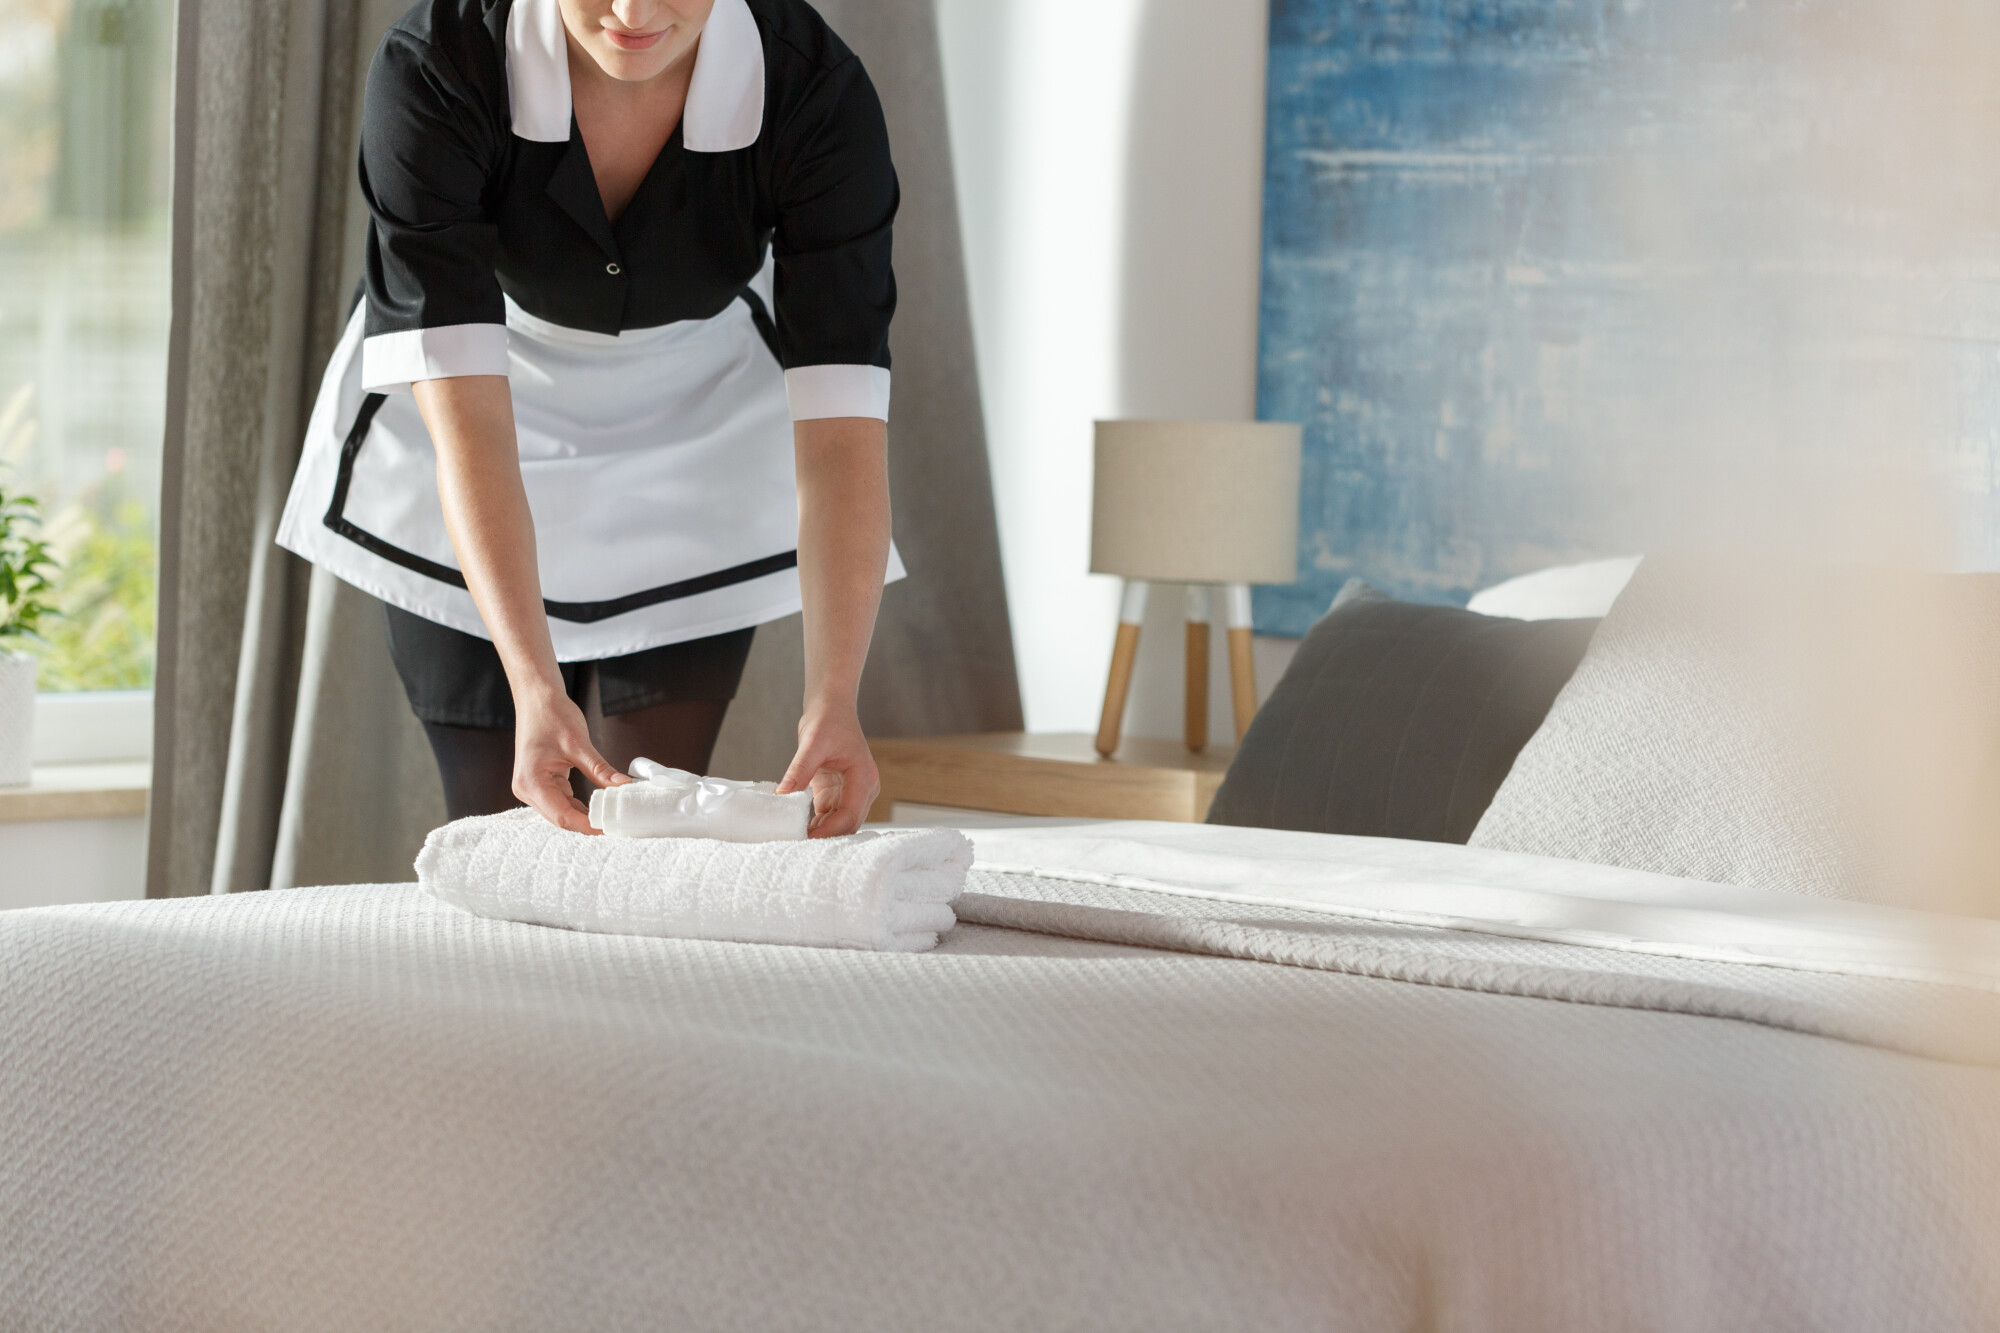
If you find yourself needing more help, though, you can always ask for help. Contact us today to get started.


